![]()
![]()
![]()
![]()
|
|
|
|
|
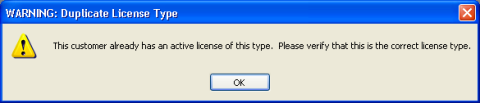
Warnings appear when you try to process a transaction that will cause a consequence you need to consider prior to proceeding with the transaction. After considering the message in the warning, you can choose to stop and change something in the data, or you can proceed with the transaction as it is.
A warning can appear in its own window or in the Error Worksheet window. In the following example, the warning appears in its own window.
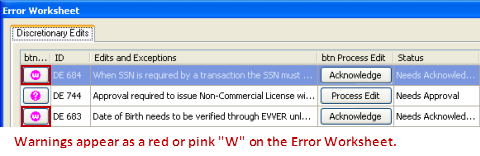
In the following example, two warnings appear in the Error Worksheet window.
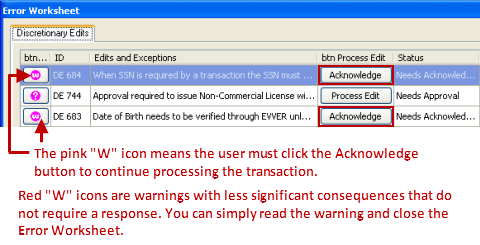
In the case of the more serious pink warning, you must click Acknowledge to proceed with the transaction.
In the following example, arrows point to the warning icons, and the Acknowledge buttons are circled in red.
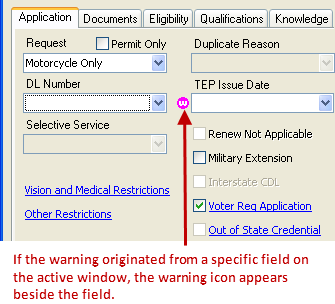
If the data issue exists on the current window, you can click the warning icon to navigate to the field on the window where the message originated.
When you navigate to the warning or close the Error Worksheet window, a warning icon appears to the left of each field that caused a warning. In the example below, the warning is to the left of the TEP Issue Date field.
Tip: If you close the Error Worksheet window after you validate, you can reopen it by right-clicking the transaction window.