Previous Topic

Next Topic

Book Contents

Book Index

Adjusting Inventory

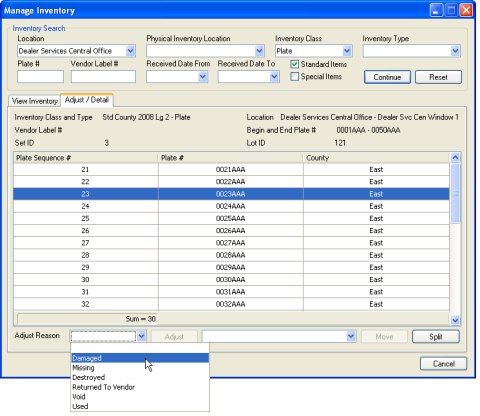
You can adjust inventory to remove it, whether it is destroyed, returned to the vendor, damaged, or missing.

To adjust inventory
  1. On the Inventory menu, select Manage Inventory.

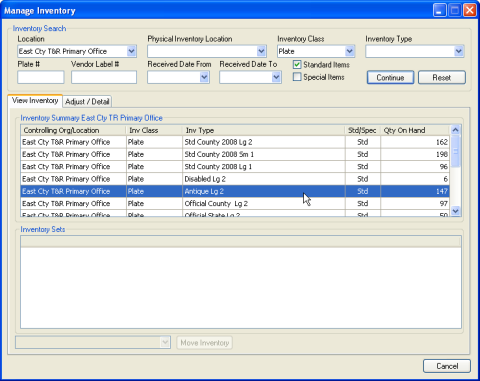
    The Manage Inventory window appears.

  2. Under Inventory Search, enter search parameters to find the inventory you want to adjust.
  3. Click Continue.

    The results from your search appear on the View Inventory tab.

  4. Under Inventory Summary, double-click the type of inventory you want to adjust.

    Manage Inventory window, View Inventory tab with the inventory you want to adjust selected

  5. Under Inventory Sets, double-click the specific inventory you want to adjust.

    Manage Inventory window, View Inventory tab with the inventory you want to adjust selected

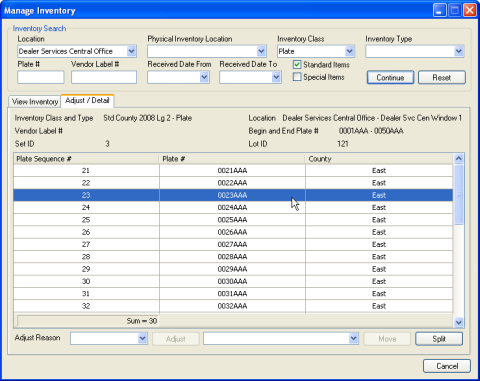
    The Adjust/Detail tab appears, listing each item in the inventory lot.

  6. Select the specific inventory item you want to adjust.

    Manage Inventory window, Adjust/Detail tab with the specific inventory you want to adjust selected

  7. On the Adjust Reason list, select the reason for the adjustment.

    Manage Inventory window, Adjust/Detail tab with the Adjust Reason selected

  8. Click Adjust.
  9. On the confirmation window, click OK.

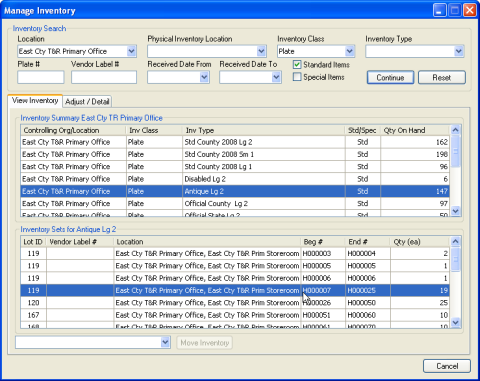
    The inventory item you selected is adjusted. All inventory items that were sequenced after the item you adjusted are split into a new set and disappear from the screen. Both inventory sets appear with the same lot ID on the list of inventory sets on the View Inventory tab.